When you’re starting a business, first impressions matter. One of the easiest ways to look professional is with your email address. Yet I still see so many businesses using yourbusiness@gmail.com or worse — a random Hotmail account.
If you want customers to take you seriously, you need a business email that matches your domain name. The good news? You can set one up for free (or very cheaply) in just a few steps.
Why a Professional Email Address Matters
Imagine enquiring about a service and getting a reply from joebuilder123@hotmail.co.uk. Does that scream trustworthy, reliable business? Not really.
A branded email address (like hello@yourbusiness.co.uk) instantly tells customers you’re legitimate. It also keeps your communication consistent across your website, invoices, and marketing.
Step 1: Secure Your Domain Name
Before you can create a professional email, you need a domain name (e.g. yourbusiness.co.uk). I personally use Ionos (formerly 1&1) because I’ve relied on them for decades. Their domain packages are affordable and easy to manage.
Alternatives like Squarespace or Wix also include domain + email bundles, but in this guide I’ll focus on the WordPress + Ionos route, because it’s more flexible and usually cheaper in the long run.
Step 2: Set Up Email Hosting
Once you’ve got your domain, most providers will offer at least one free email inbox with your package.
For example, with Ionos you can set up something like:
info@yourbusiness.co.uk
sales@yourbusiness.co.uk
or better yet, a personal one like firstname@yourbusiness.co.uk
This inbox will work just like Gmail or Outlook, but with your professional domain name.
Step 3: Connect to Gmail (Optional, But Handy)
If you prefer the Gmail interface, you don’t need to give it up. You can forward your domain emails into Gmail and even send emails from Gmail using your business address.
That way, you get the best of both worlds: professional branding with the convenience of Gmail’s tools.
Step 4: Decide Your Naming Format
It’s worth taking a moment to think about consistency. Do you want emails to look like:
hello@yourbusiness.co.uk
support@yourbusiness.co.uk
firstname.lastname@yourbusiness.co.uk
There’s no wrong answer — just pick a format and stick to it. This avoids confusion later if you expand your team.
Step 5: Add It to Your Website and Materials
Once you’ve got your professional email set up, make sure it’s visible:
On your website contact page
In your footer
On your invoices and quotes
In your Google Business Profile
The more consistent your contact details are across the web, the more trust you build with both customers and Google.
Final Thoughts
Setting up a professional business email doesn’t need to cost the earth — in fact, it can be free with most domain providers. For something that takes less than an hour, the boost in credibility is huge.
If you’re still using a personal email for your business, now’s the time to make the switch.
Starting a business is exciting — but it’s also when most mistakes happen. I’ve worked with countless small businesses over the years, and I’ve seen the same slip-ups repeated time and again. Some are small and easy to recover from. Others can sink a business before it really gets off the ground.
Here are the 10 most common mistakes UK startups make in their first year — and how to avoid them.
1. Not Registering the Business Properly
It sounds obvious, but I’ve seen people start trading without checking if their name is available at Companies House. Or worse, they build a brand and then discover the domain name is already taken.
Fix it: Before you launch, check Companies House, domain availability, and social handles. Get your business set up legally and consistently from day one.
2. Trying to Do Everything Alone
A lot of founders think they need to be the marketer, accountant, salesperson, and operations manager all at once. That’s how burnout happens.
Fix it: Outsource the things you’re not good at, even if it’s just bookkeeping or design. Free yourself up to focus on what you actually do best.
3. Ignoring Cash Flow
Profit looks good on paper, but cash flow is what keeps the lights on. Many startups underestimate how long it takes to actually get paid.
Fix it: Keep a close eye on cash flow, not just sales. Have a buffer for late payments and plan your expenses carefully.
4. Skipping a Business Plan
Some people jump in without a plan because it feels exciting to just “get started.” But without a roadmap, it’s easy to drift and make poor decisions.
Fix it: You don’t need a 40-page plan. A one-page outline of goals, audience, budget, and strategy is enough to keep you focused.
5. Undervaluing Products and Services
Many startups start by pricing too low to “attract customers.” That usually backfires, because cheap prices suggest low quality.
Fix it: Research your market and price based on the value you deliver. Customers will pay for quality if you communicate it well.
6. Neglecting Marketing Early On
Some founders think customers will just “find them.” They don’t.
Fix it: Build a basic marketing strategy from the start — a simple website, local SEO, and one or two social platforms where your audience actually spends time.
7. Poor Customer Service
It doesn’t matter how good your product is if your customer experience is poor. I’ve seen new businesses lose customers after a single bad interaction.
Fix it: Prioritise communication, response times, and treating people with respect. Customers forgive mistakes if they feel heard.
8. Not Tracking Performance
Too many startups don’t measure anything — so they don’t know what’s working and what isn’t.
Fix it: Track the basics: website traffic, conversion rates, customer feedback, and repeat sales. You don’t need fancy software — even a simple spreadsheet will do.
9. Overspending Too Early
It’s tempting to splash out on branding, office space, or expensive tools before you’ve made your first pound.
Fix it: Keep things lean. Only spend where it makes a clear difference to sales or customer experience.
10. Giving Up Too Soon
This is probably the biggest mistake I see. The first year is tough, but so many businesses quit before they’ve had the chance to build momentum.
Fix it: Expect setbacks. Learn from complaints, adjust your strategy, and keep moving. Success rarely happens overnight.
Final Thoughts
The first year of running a startup is never perfect — you will make mistakes. The key is to learn fast, adapt, and avoid the common pitfalls that trip up so many others.
If you can sidestep these 10 mistakes, you’ll be giving your business the best chance not only to survive, but to grow.
Starting a business is one of the most exciting steps you can take, but it can also feel overwhelming. Where do you begin? How do you make sure people actually find you? And how do you build an online presence that looks professional without spending a fortune?
I’ve helped many small businesses (and built some of my own) go from an idea, to a live website that gets noticed. The truth is, the process isn’t complicated, but it does take some planning and patience. Whether you’re starting a brand new business or taking the next step with one you already run, this guide will walk you through the essentials of getting your presence online.
If you are already set up online and have your own website, you can skip this article, but if you are new to this, read on because this is everything you need to get started.
Step 1: Choose a Business Name (and Check It’s Available)
Your business name is the foundation of your brand. There is no right or wrong answer on what your business name should be, but have a long thing about it before you dive in. It can be a pain in the backside to change your brand later!
Before you get carried away with logos or websites, make sure the name you want is actually available. What I usually do is:
Check Companies House to see if it’s already registered by another UK company.
Search for available domain names to make sure that your name isn’t already taken.
Check social media handles. Consistency matters. Ideally, your business name should be available across platforms like Facebook, Instagram, LinkedIn, or TikTok if you plan to use them.
Don’t overcomplicate it. A simple, clear name that tells people what you do is often far more effective than something “clever” that no one understands.
Step 2: Secure Your Domain and Website Hosting
Once you’ve settled on a name, the next step is to claim your space online.
I recomend that you set up a website using a platform called WordPress. To do this, you just need to find a hosting company to set it all up for you (it’s pretty cheap!).
I personally recommend IONOS (formerly 1&1), because I’ve used them for decades and they’ve always been very reliable. They offer affordable packages, solid support, and basically sets up the WordPress website for you! Check out their WordPress packages here
There are alternatives like Squarespace or Wix, and they’re fine if you want something simple, but i find them more expensive and a lacking in features. But for this guide, I’ll focus on WordPress via IONOS, because it gives you the freedom to grow, customise, and adapt your website over time.
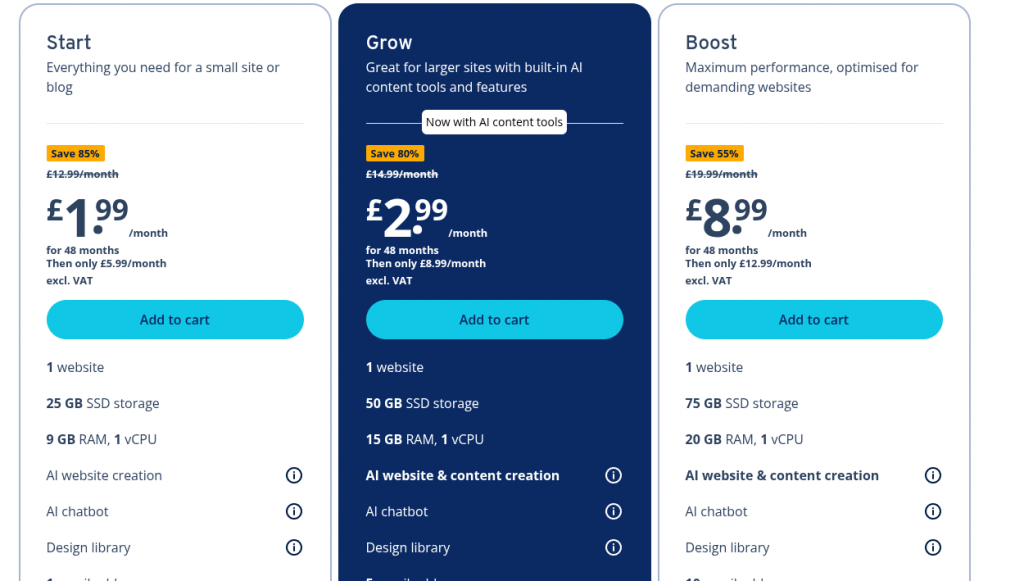
When you click the link to se up your website, simply click the offer that suits you. These change from time to time, but most of the time, you can choose the cheapest (You can always upgrade later if you need to).
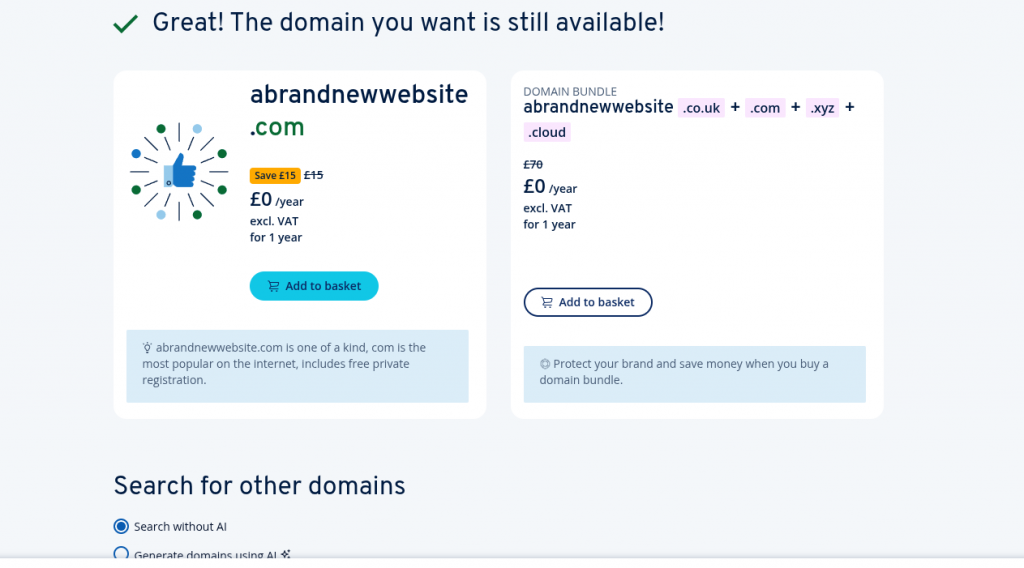
Once you have chosen your package, you are directed to set up your domain name. This is the name of your website and what people will type in or see on Google when they find you.
Now all that is left is for your to confirm your domain name, and you are basically ready to get started! IONOS will set up your website for you relatively quickly!
Step 3: Set Up Your Website and Get Organised
With your hosting and domain sorted, it’s time to set up your website. If you go with IONOS, they install your WordPress website in just a couple of clicks. Once it’s live, you basically have a blank canvas of a website to shape however you see fit.
There are three important things you should do right away:
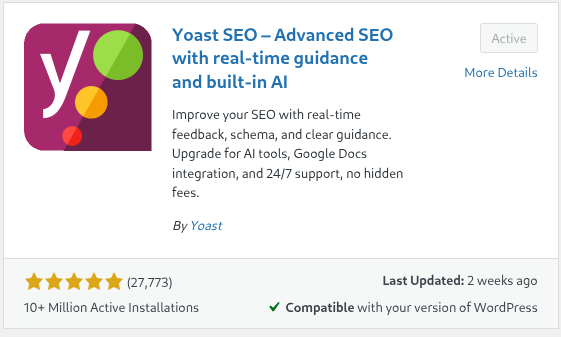
1. Install the Yoast SEO Plugin
Yoast is beginner-friendly and will help you edit the meta title and meta description of every page on your site. This is what shows up in Google search results, and it’s your chance to stand out. A good meta title and description can make the difference between someone clicking on your site or scrolling past. The plug in does a whole lot more than that, but at the start, this will be the thing that you will want to tweak the most.
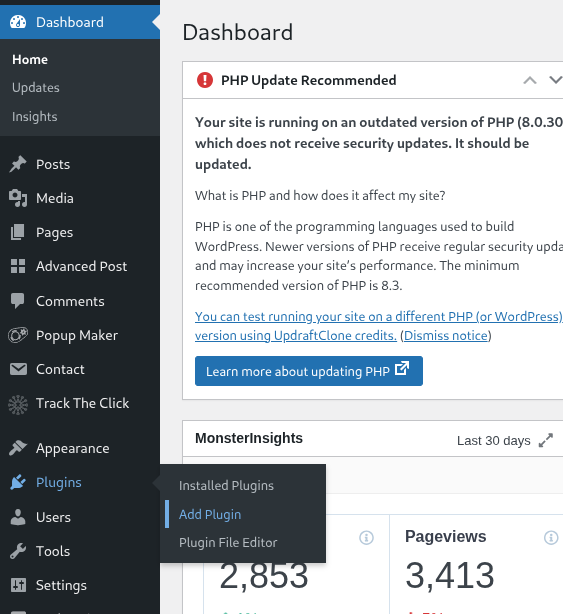
To install a plugin, you just need to open your wordpress website, hover over the ‘Plugins’ section and click on ‘Add Plugin’, as shown in the image below.
2.Set Up Google Analytics
This free tool tracks who visits your website, how they found you, and what pages they look at. It’s invaluable for understanding what’s working and what’s not. You can set up your account here.
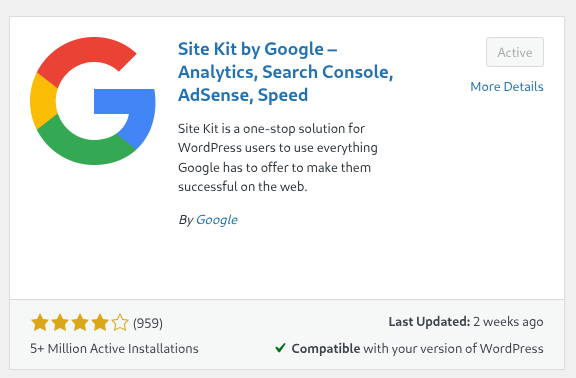
Once your account is set up, you should install the ‘Google Site Kit plugin’. It will take you throught the steps that you need to link up your analytics account so that everything tracks as it should.
3.Connect Google Search Console
This sometimes confuses people. Google have the analytics tool to track who visits your site, but they also have ‘Search Console’ that is tool that shows you how your site is performing in Google search results. For someone who is new, it sounds like they are really similar, but as you get used to the platforms, you will see that they both serve very different functions. In a nutshell, Search Console tells you what pages are doing well on Google, what people are typing to find you and how many clicks you are getting from people searching on Google. You can set your account up here.
Once this is set up, link your search console account with the Google Site Kit plugin too.
These are small steps, but they set the foundation for everything that follows.
Step 4: Build a Clear and Simple Homepage
Your homepage is often the first impression customers will get of your business. It doesn’t need to be flashy, but it does need to be clear.
Think of your homepage as your shop window. Within seconds, a visitor should know:
Who you are
What you do
How you can help them
How they can get in touch
Avoid cramming in too much detail or jargon. Keep it clean, with a welcoming introduction, a short description of your products or services, and a clear call-to-action (like “Contact us today” or “Browse our services”).
You’ll hear some people say that content marketing is “dead.” Trust me, it’s not. Creating useful, helpful content is still one of the best ways to attract visitors and build authority in your niche.
The catch? It takes time. If you’re expecting to publish a couple of blog posts and be at the top of Google next month, you’re going to be disappointed. Google “tests” your website over time, gradually showing it to users and seeing how they respond. Only when it’s convinced that your content is genuinely useful will it reward you with better rankings.
Here are some tips:
Write articles that answer questions your potential customers are asking.
Focus on being genuinely useful rather than trying to game the system.
Be consistent. Publishing regularly is better than a flurry of posts followed by silence.
Good content takes effort, but it’s also the most sustainable way to grow your visibility online.
Step 6: Build Authority Beyond Your Website
Google isn’t just looking at your website in isolation. It wants to see you as part of a wider, trustworthy ecosystem. That’s why building ‘authority’ matters.
Here are some easy ways to do it:
Add your website link to all your social media profiles.
Create an About Me page on your site and link back out to your professional profiles (LinkedIn, for example).
If you already have a following on social media, use it. Share your website, direct people to your content, and make it part of your brand presence.
Collect reviews and testimonials where possible. Social proof not only helps customers trust you, but also sends signals to Google that you’re credible.
You don’t need to do everything at once. But each of these steps makes your online presence stronger, more trustworthy, and more appealing to both customers and search engines.
If you have any questions or have any other tips that you think I have missed, please reach out to me via the contact me page. I would love to hear from you.
Manage Consent
To provide the best experiences, we use technologies like cookies to store and/or access device information. Consenting to these technologies will allow us to process data such as browsing behavior or unique IDs on this site. Not consenting or withdrawing consent, may adversely affect certain features and functions.
Functional
Always active
The technical storage or access is strictly necessary for the legitimate purpose of enabling the use of a specific service explicitly requested by the subscriber or user, or for the sole purpose of carrying out the transmission of a communication over an electronic communications network.
Preferences
The technical storage or access is necessary for the legitimate purpose of storing preferences that are not requested by the subscriber or user.
Statistics
The technical storage or access that is used exclusively for statistical purposes.The technical storage or access that is used exclusively for anonymous statistical purposes. Without a subpoena, voluntary compliance on the part of your Internet Service Provider, or additional records from a third party, information stored or retrieved for this purpose alone cannot usually be used to identify you.
Marketing
The technical storage or access is required to create user profiles to send advertising, or to track the user on a website or across several websites for similar marketing purposes.